Thanks and for anyone contemplating if I had it to do over again I’d use contact paper. That’s basically what the “skin” I bought turned out to be and not what I expected. You get more with contact paper and can use elsewhere too. A design with texture adds something. So many options from geometric designs to marble, etc.
Yes I’m curious as well…especially on your drip loop. Two of ours installed under similar width eaves and outer casings still get wet occasionally. May not be an issue where you are though.
Hello GreenEggs
If you search Victor Maletic on the forum and scroll down to 'Installing WYZE Cam outside- one approach ', you will see how the support bracket is made from a 12"x12"x2" sheet metal angle. The angle is cut down with a hacksaw and bent in a vise with a hammer. Dimensions and bend angles to fit your situation.
The power cord is not protected particularly well. Could be duct-taped along the edge of the support bracket.
…Hello shayfunk
If you search Victor Maletic on the forum and scroll down to 'Installing WYZE Cam outside- one approach ', you will see how the support bracket is made from a 12"x12"x2" sheet metal angle. The angle is cut down with a hacksaw and bent in a vise with a hammer. Dimensions and bend angles to fit your situation.
The power cord is not protected particularly well. Could be duct-taped along the edge of the support bracket.
The protrusion on the bottom of the camera support is a fake screw - not drip loop. I have not had any issues with water.
SOLUTIONREPLY
BOOKMARK SHARE FLAG REPLY
WATCHING
You will receive notifications because you created this topic.
Hello rgnets5
If you search Victor Maletic on the forum and scroll down to 'Installing WYZE Cam outside- one approach ', you will see how the support bracket is made from a 12"x12"x2" sheet metal angle. The angle is cut down with a hacksaw and bent in a vise with a hammer. Dimensions and bend angles to fit your situation.
The power cord is not protected particularly well. Could be duct-taped along the edge of the support bracket.
SOLUTIONREPLY
BOOKMARK SHARE FLAG REPLY
WATCHING
You will receive notifications because you created this topic.
I forgot to mention gluing or taping on a plastic shield clipped from a food container.
It should not extend more than 3/4" beyond the camera’s front face. The back edge of the shield should extend far enough to protect the USB plug. @rgnets5
Meaning it’s a custom job that requires
Bob Villa-MacGyver skills😐
I’ll go surfing for said reference that details your magic.
Was hoping you would’ve had a hardware store shopping list complete with L brackets, fixtures I never knew the names of and don’t know their true purpose, random bolt sizes, locking washers and a pin on which it pivots along the bottom. Thanks for reminding me that I need to marry an Engineer or handyman.
I haven’t read this thread in awhile, but painting a cam with Plasti Dip is no more intimidating than painting a chair. You just spray a few coats and wait for it to dry. After that, installation can be as simple as using the included magnetic plate and the sticky tape, or going full boar and drilling a hole in the mount for a single screw (caution: that is extreme, as it would likely void the warranty).
Hello GreenEggs
If a materials list is not provided, show the assistant in the hardware store what you are wanting to do directly from photos posted in the WYZE forum. He/She or associate worker will know what’s required in the way of materials, hardware and tools. You just buy what you need. Things you have or can narrow, don’t buy.
Dig into Google and YouTube University…you got this. My husband and I are both in IT and handy but we all start out the same right? Almost everything we’ve done we figured out with Google and YouTube. Just don’t be afraid to mess stuff up. Heck, half the people in my house aren’t speaking to me currently and I’m sleeping with one eye open. I messed something up and we got alerts on our phone every hour until it was worked out thanks to some other people taking the time to post information. I just don’t recommend walking into Home Depot thinking you will get all your answers with a supply list. Risky at best. Maybe Elliott’s Hardware…maybe.
Sorry I’m responding 3months later.
Yes, in general youtube is your friend and when I can’t find what I need online, I usually wander into a few stores to MacGyver what I already have. I’m not afraid to experiment with BigBox first because they have a generous return policy😉
My issue-I know what I want to accomplish, can describe/draw it but the people that speak THIS language are never there. Hahahah
When asking for a “list” I meant to say:
“I have no idea what that is so please kindly identify it (with name) and tell me where/what department it was acquired.” Asking for 90° bent pieces of mystery metal didn’t go well so I wandered around until matte fixtures called my name in plumbing and decking.
I’m installing cameras to the pole of a basketball rim and will post my finished PoE experiment with the correct names😃if it works well.
Pole mount, fixtures from plumbing and square Swiss Cheese looking plate by Simpson Strong-Tie in decking.
Also hollowed out a nerf football and a stuffed animal for two other PanCams. Gave them to a relative and forgot to take pics of my finished handy work.
Have a great weekend all.
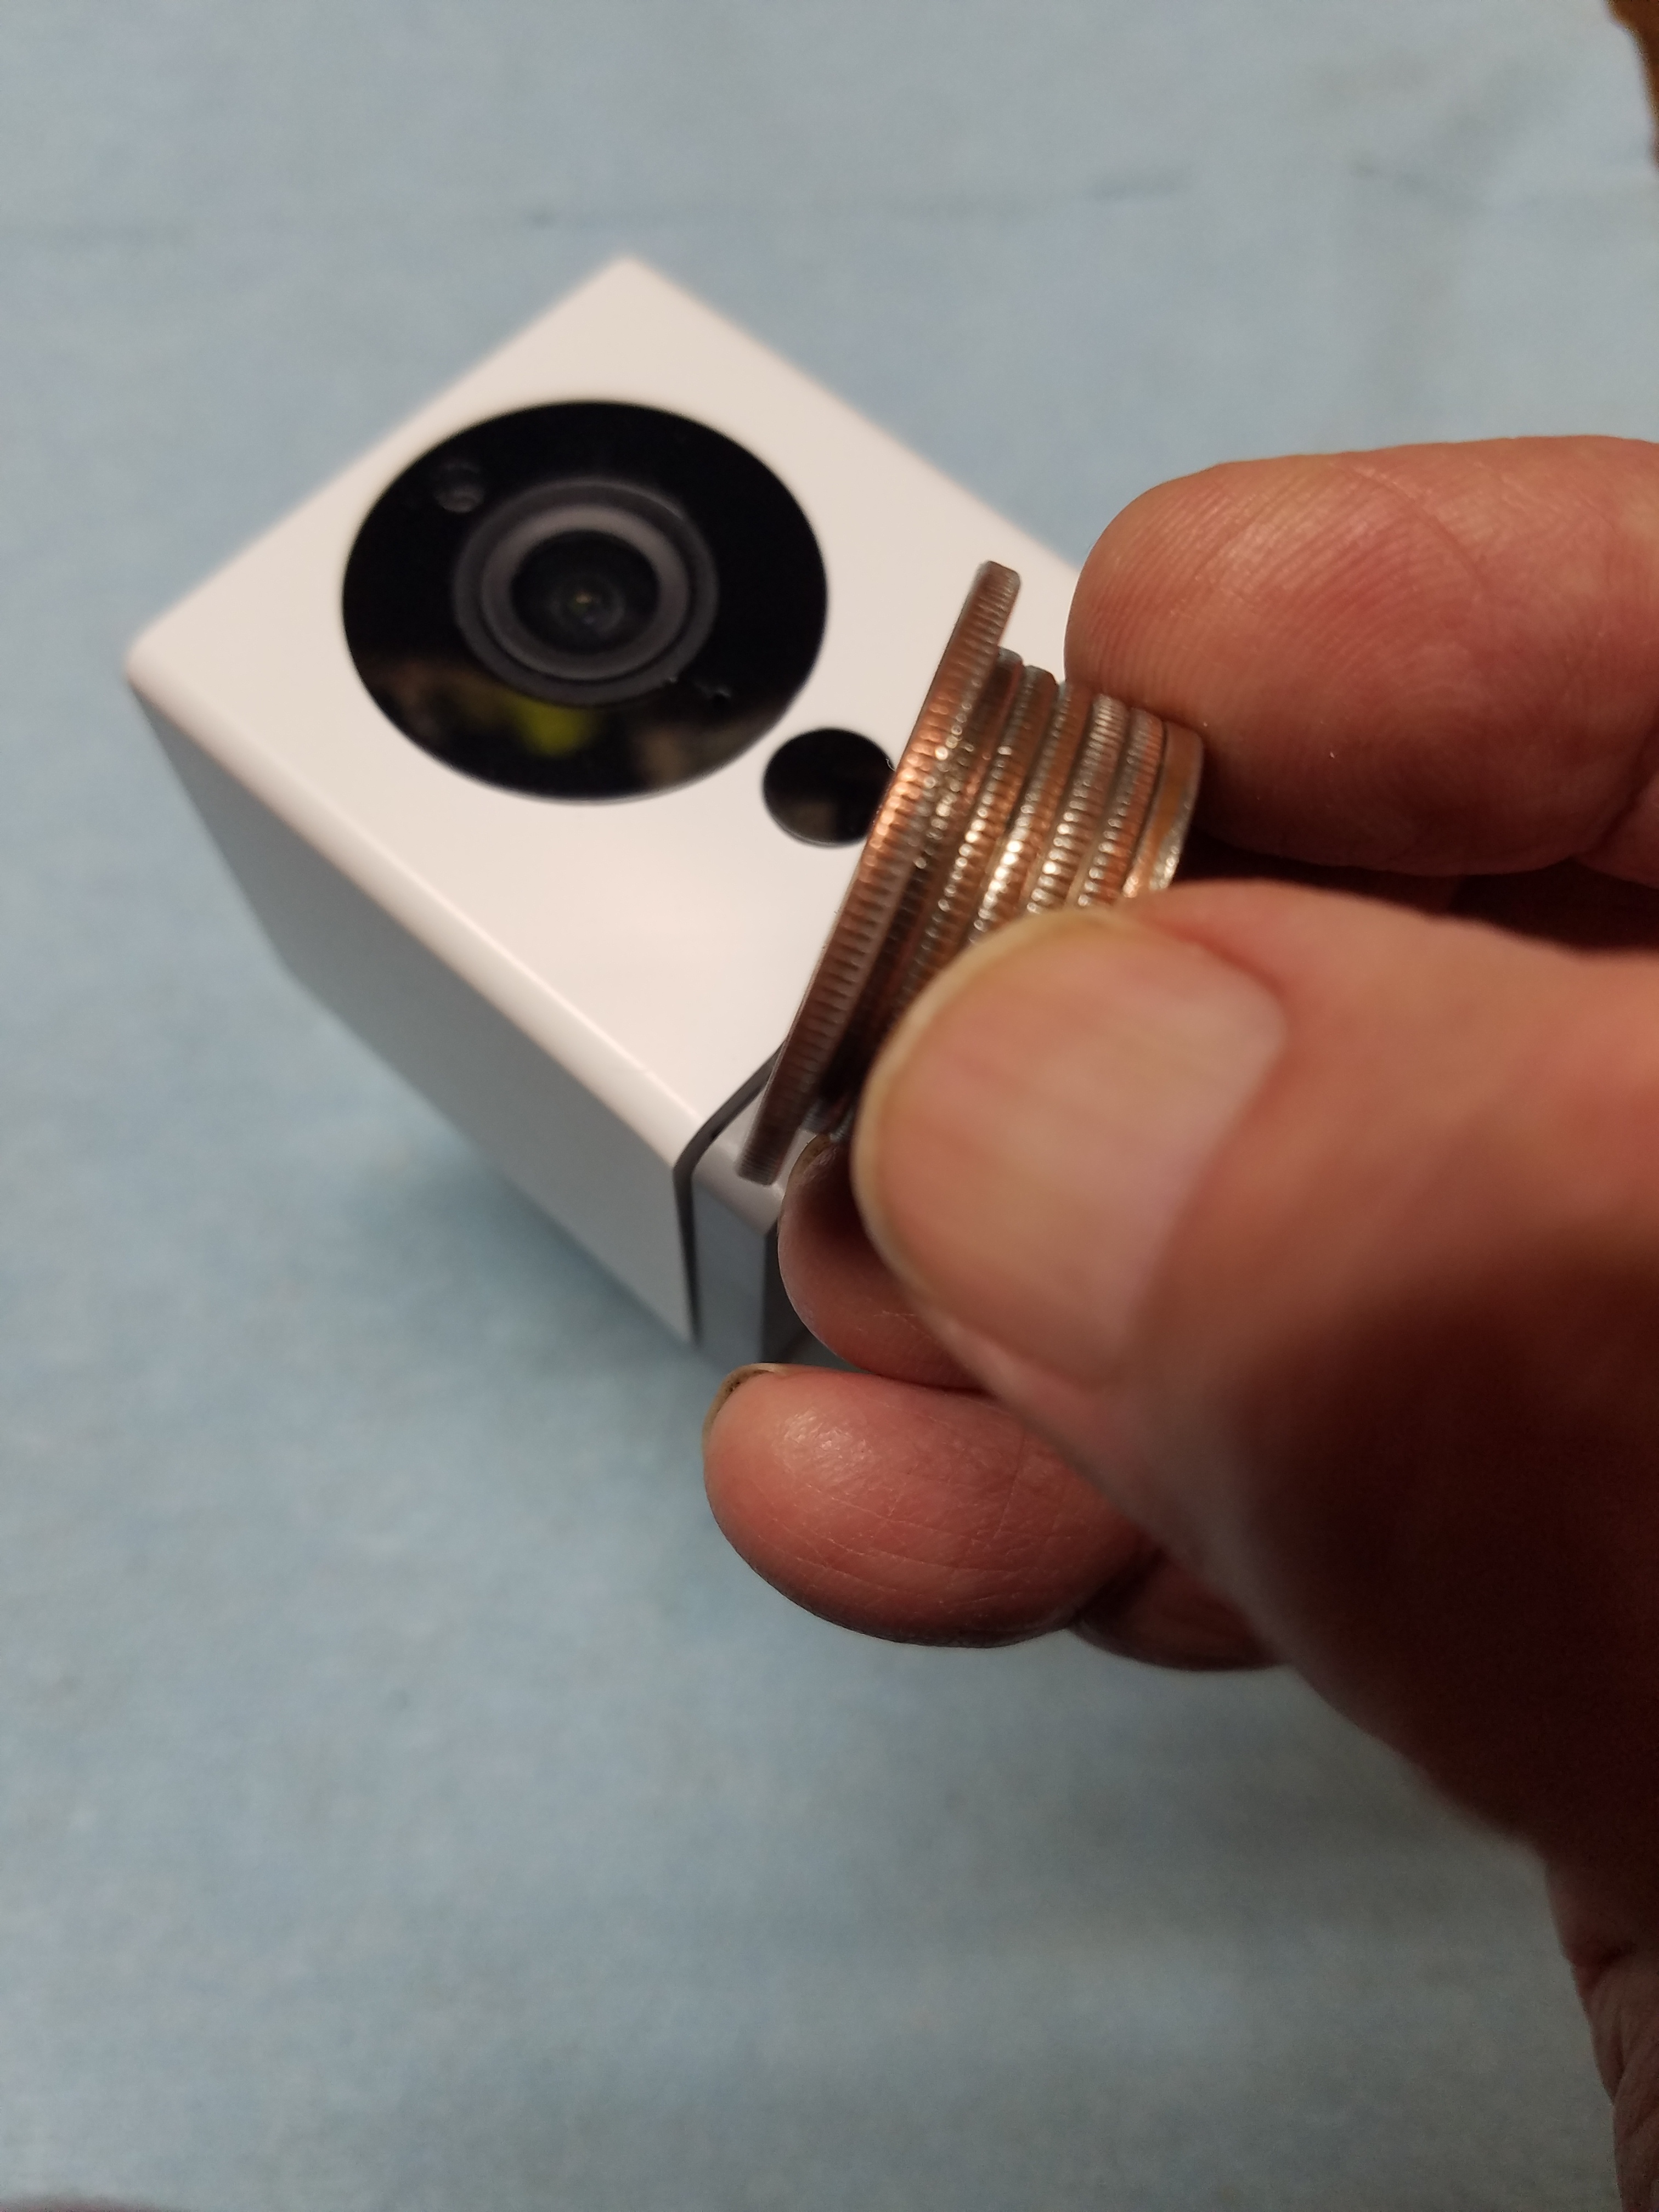
I saw a reference by @LRHowland to an earlier submission of mine ‘Easy Black or any other color V2’ dealing with painting V2 cameras. I got to thinking about how I could make the US 50¢ coin masking of the camera lens easier to use. I increased the mask weight by gluing 6 US 25¢ coins on top of the 50¢ piece. Instead of quarters, you could use some 1” ⌀ steel washers. The quarters provide a nice handle for placing and adjusting the mask. See the pictures below. Also, the small black disk below the camera lens is non-functional in the V2 and can be painted over without affecting the camera’s functioning.
The mask is positioned. Notice the even black halo around the 50¢ piece, also the light sensor and mike hole are masked as well as the lens.
Victor Maletic